Overview
The Droopify Chrome Extension is an additional tool designed to enhance the user experience of the platform. Since it is not available on the Chrome WebStore, installation requires a manual procedure. This guide will walk you step by step through all the necessary actions to successfully complete the installation, ensuring the extension works properly in the Chrome browser.
Note:
To update the Chrome extension, simply follow the same procedure used for installation.
Full Video on How to Install the Droopify Chrome Extension on Windows
How to Install the Droopify Chrome Extension?
The Droopify Chrome Extension is not available on the Chrome WebStore, so it must be installed manually by carefully following the steps below.
Note:
To update the Chrome extension, simply follow the same procedure used for installation.
Step 1: Download the extension
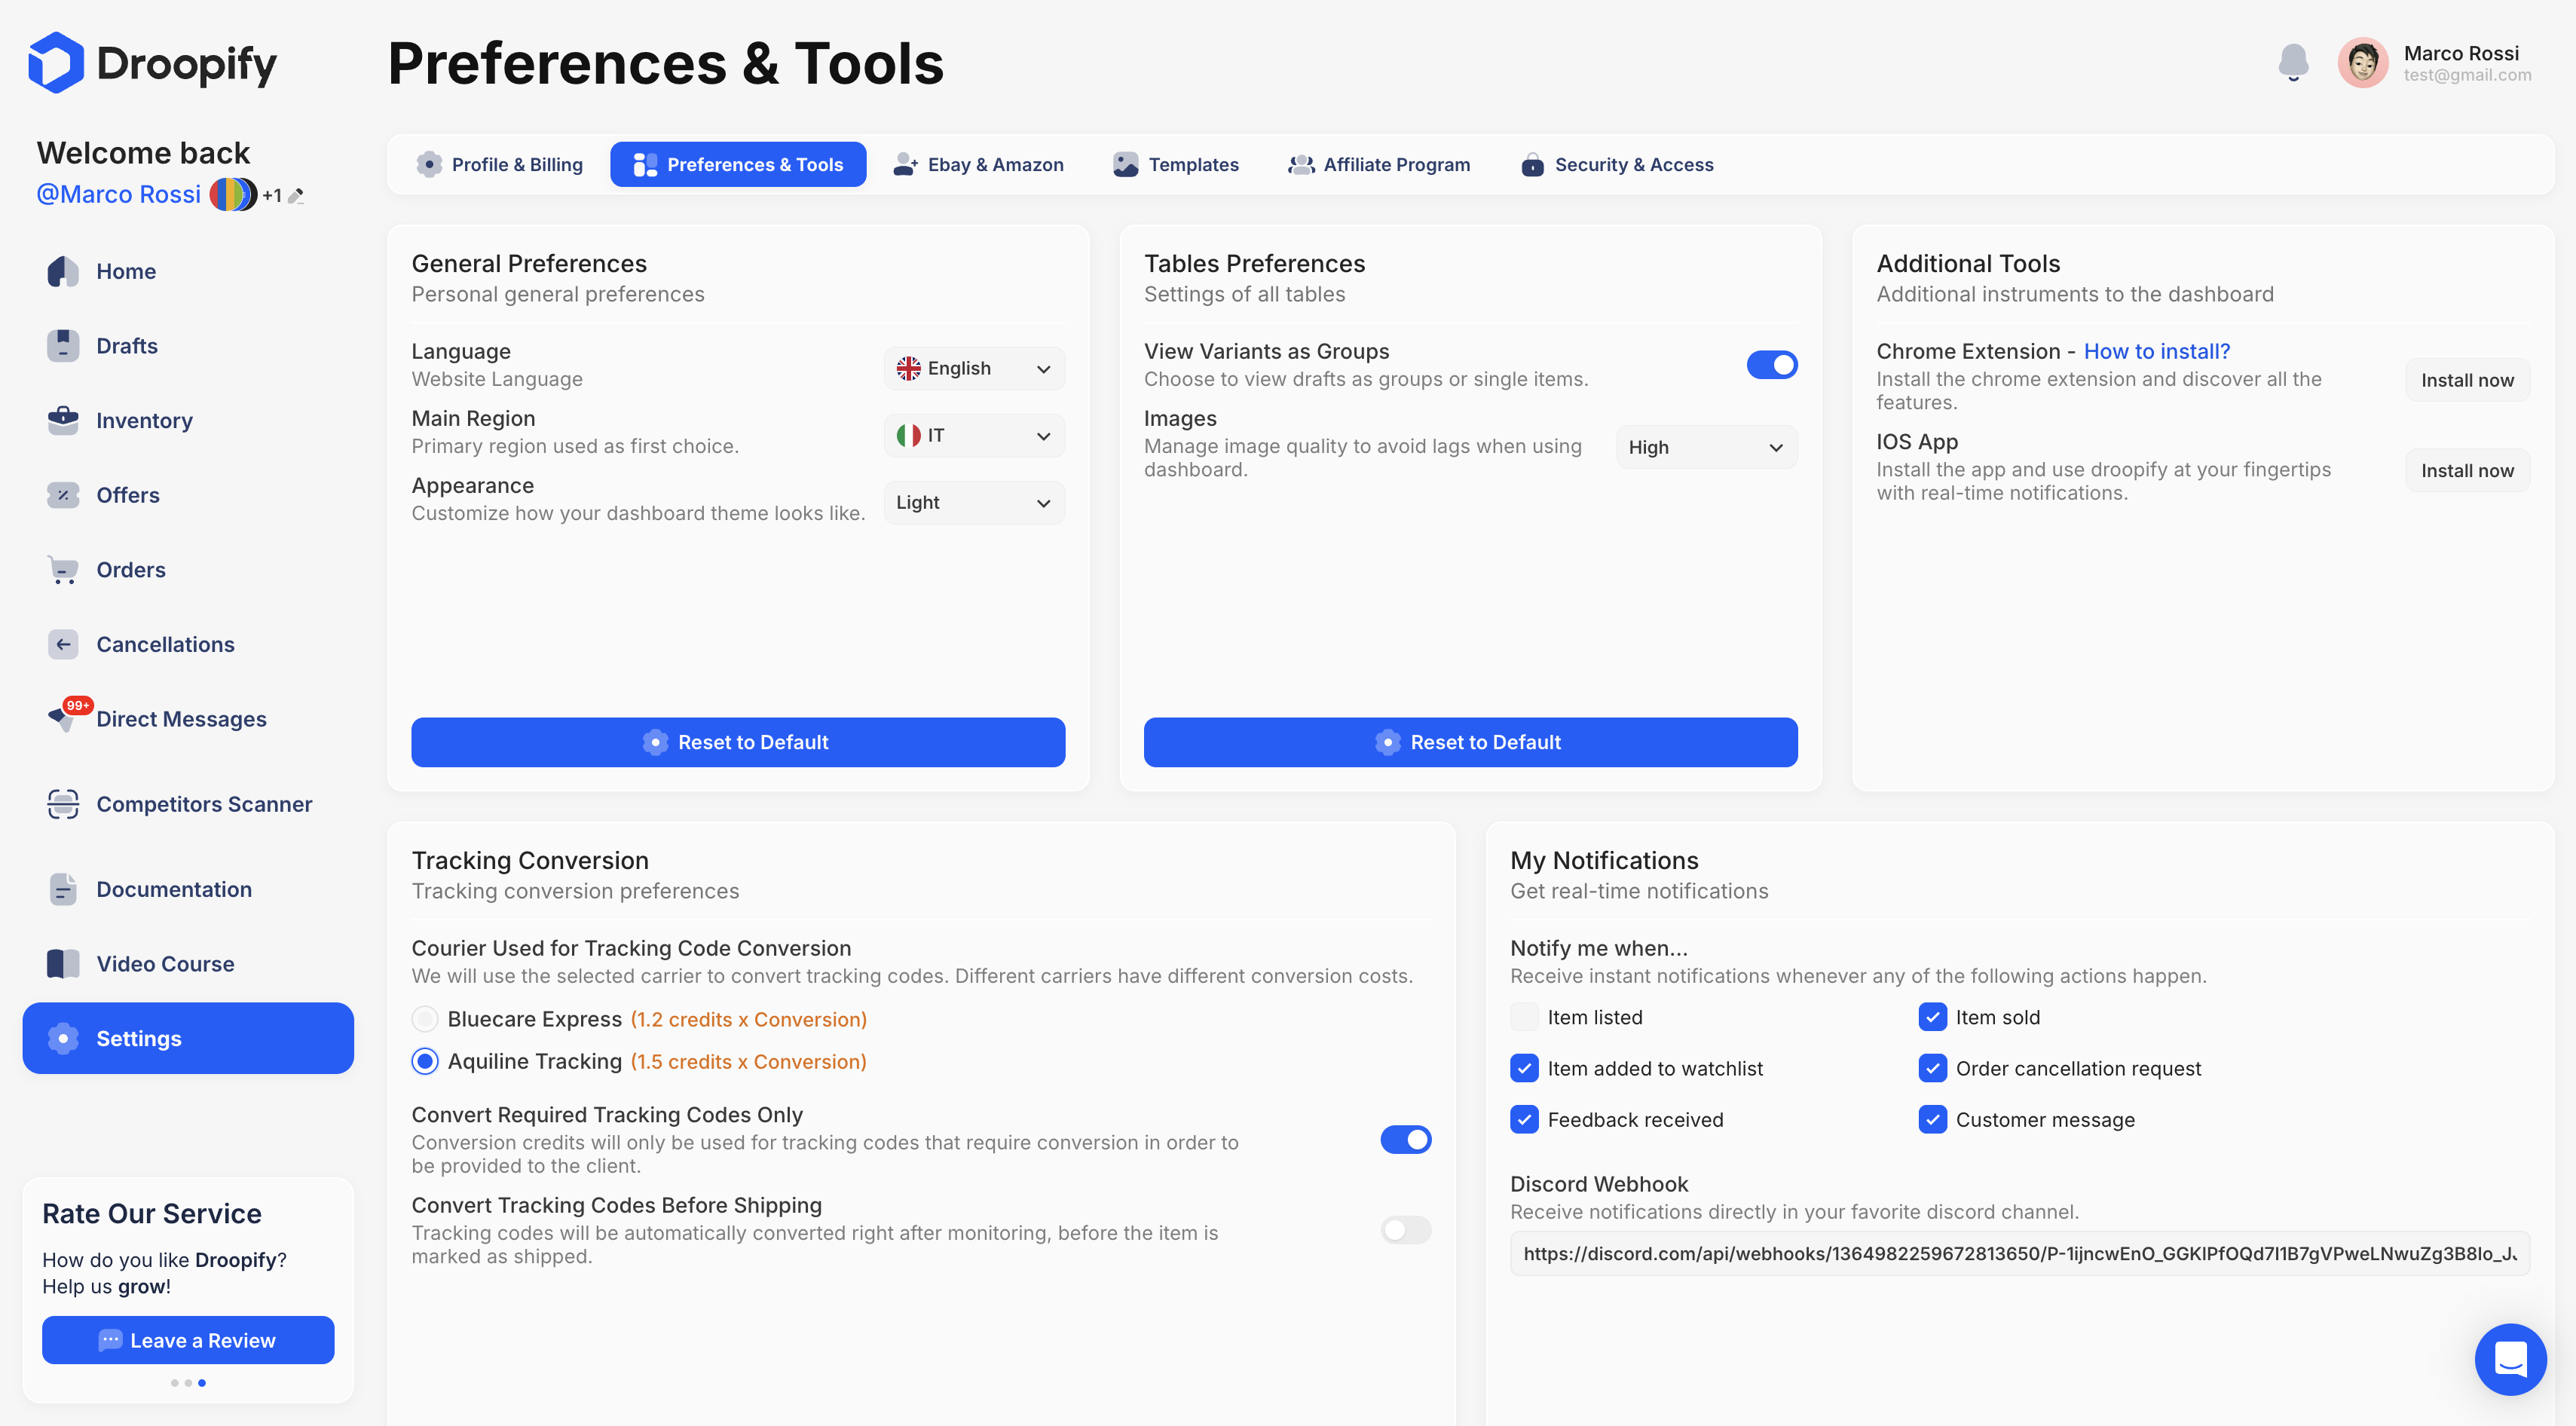
Open the page Droopify Settings -> Preferences and Tools.
In the "Additional Tools" panel, click the "Install now" button.
Step 2: Move the file to the Desktop
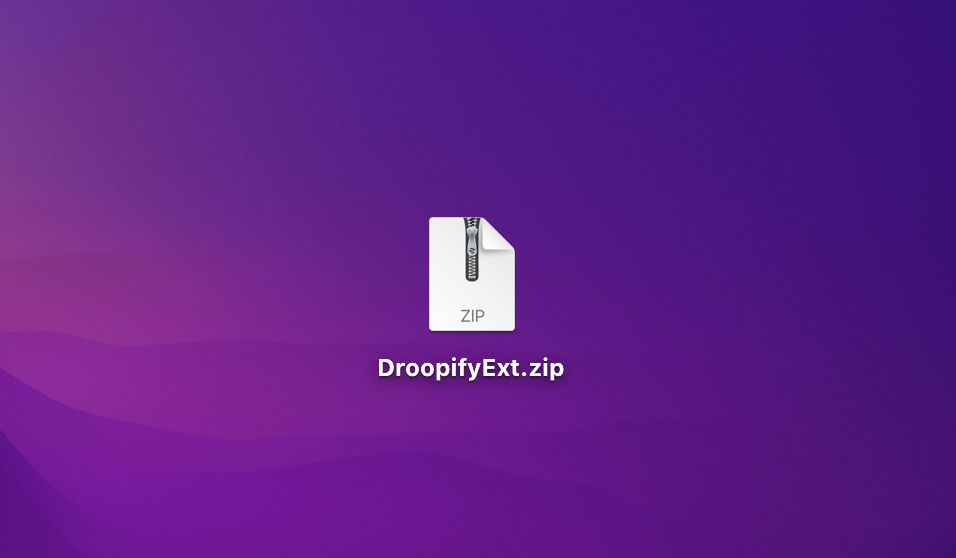
Once downloaded, drag the DroopifyExt.zip file to your computer’s Desktop.
Step 3: Extract the zip file
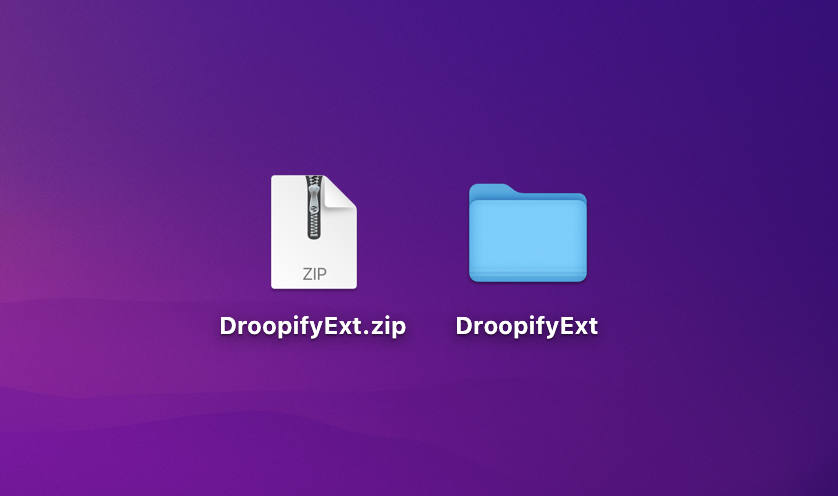
Extract the contents of the DroopifyExt.zip file.
On MacOS and Windows, the process may vary slightly, but usually double-clicking the zip file is enough. At this point, the DroopifyExt folder will appear on your Desktop or in a dedicated window: in that case, drag it manually to the Desktop.
Step 4: Verify the extracted folder
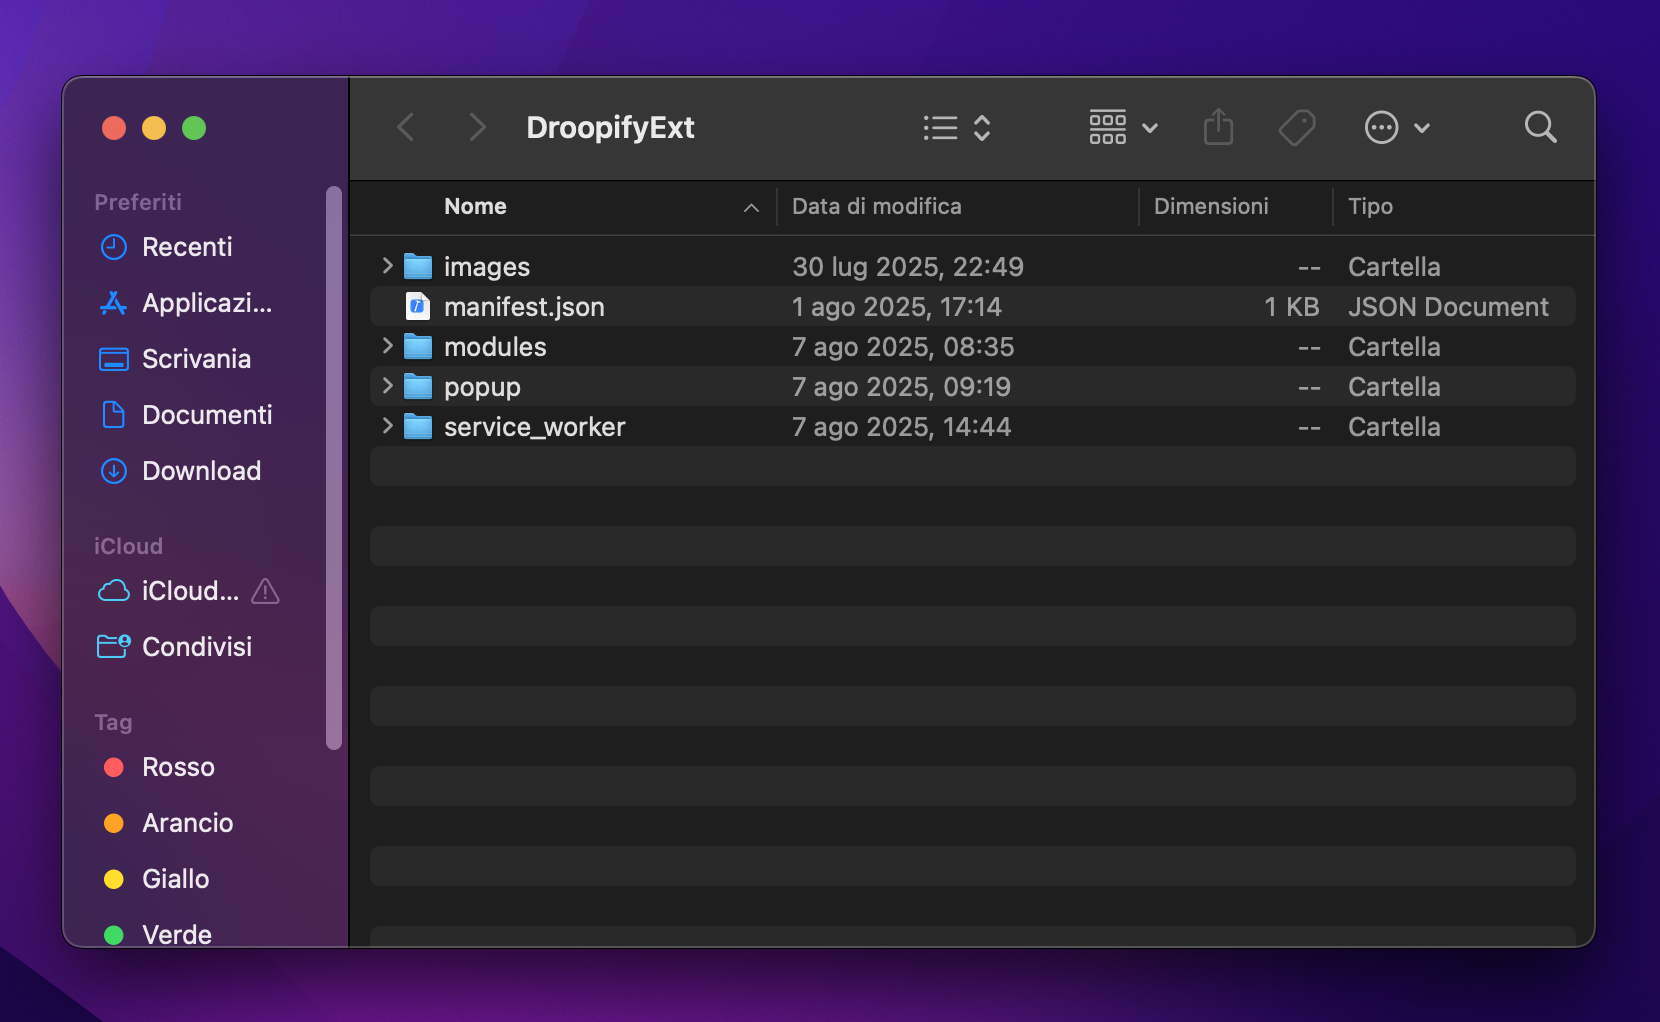
Check that the extracted folder is correct. Opening the DroopifyExt folder, you should see the extension’s main files inside it.
If instead you find another folder with the same name inside, drag it out and place it on the Desktop.
Note:
From this moment you can delete theDroopifyExt.zipfile from your Desktop.
However, it is essential that the DroopifyExt folder is not deleted, otherwise the extension will not work.
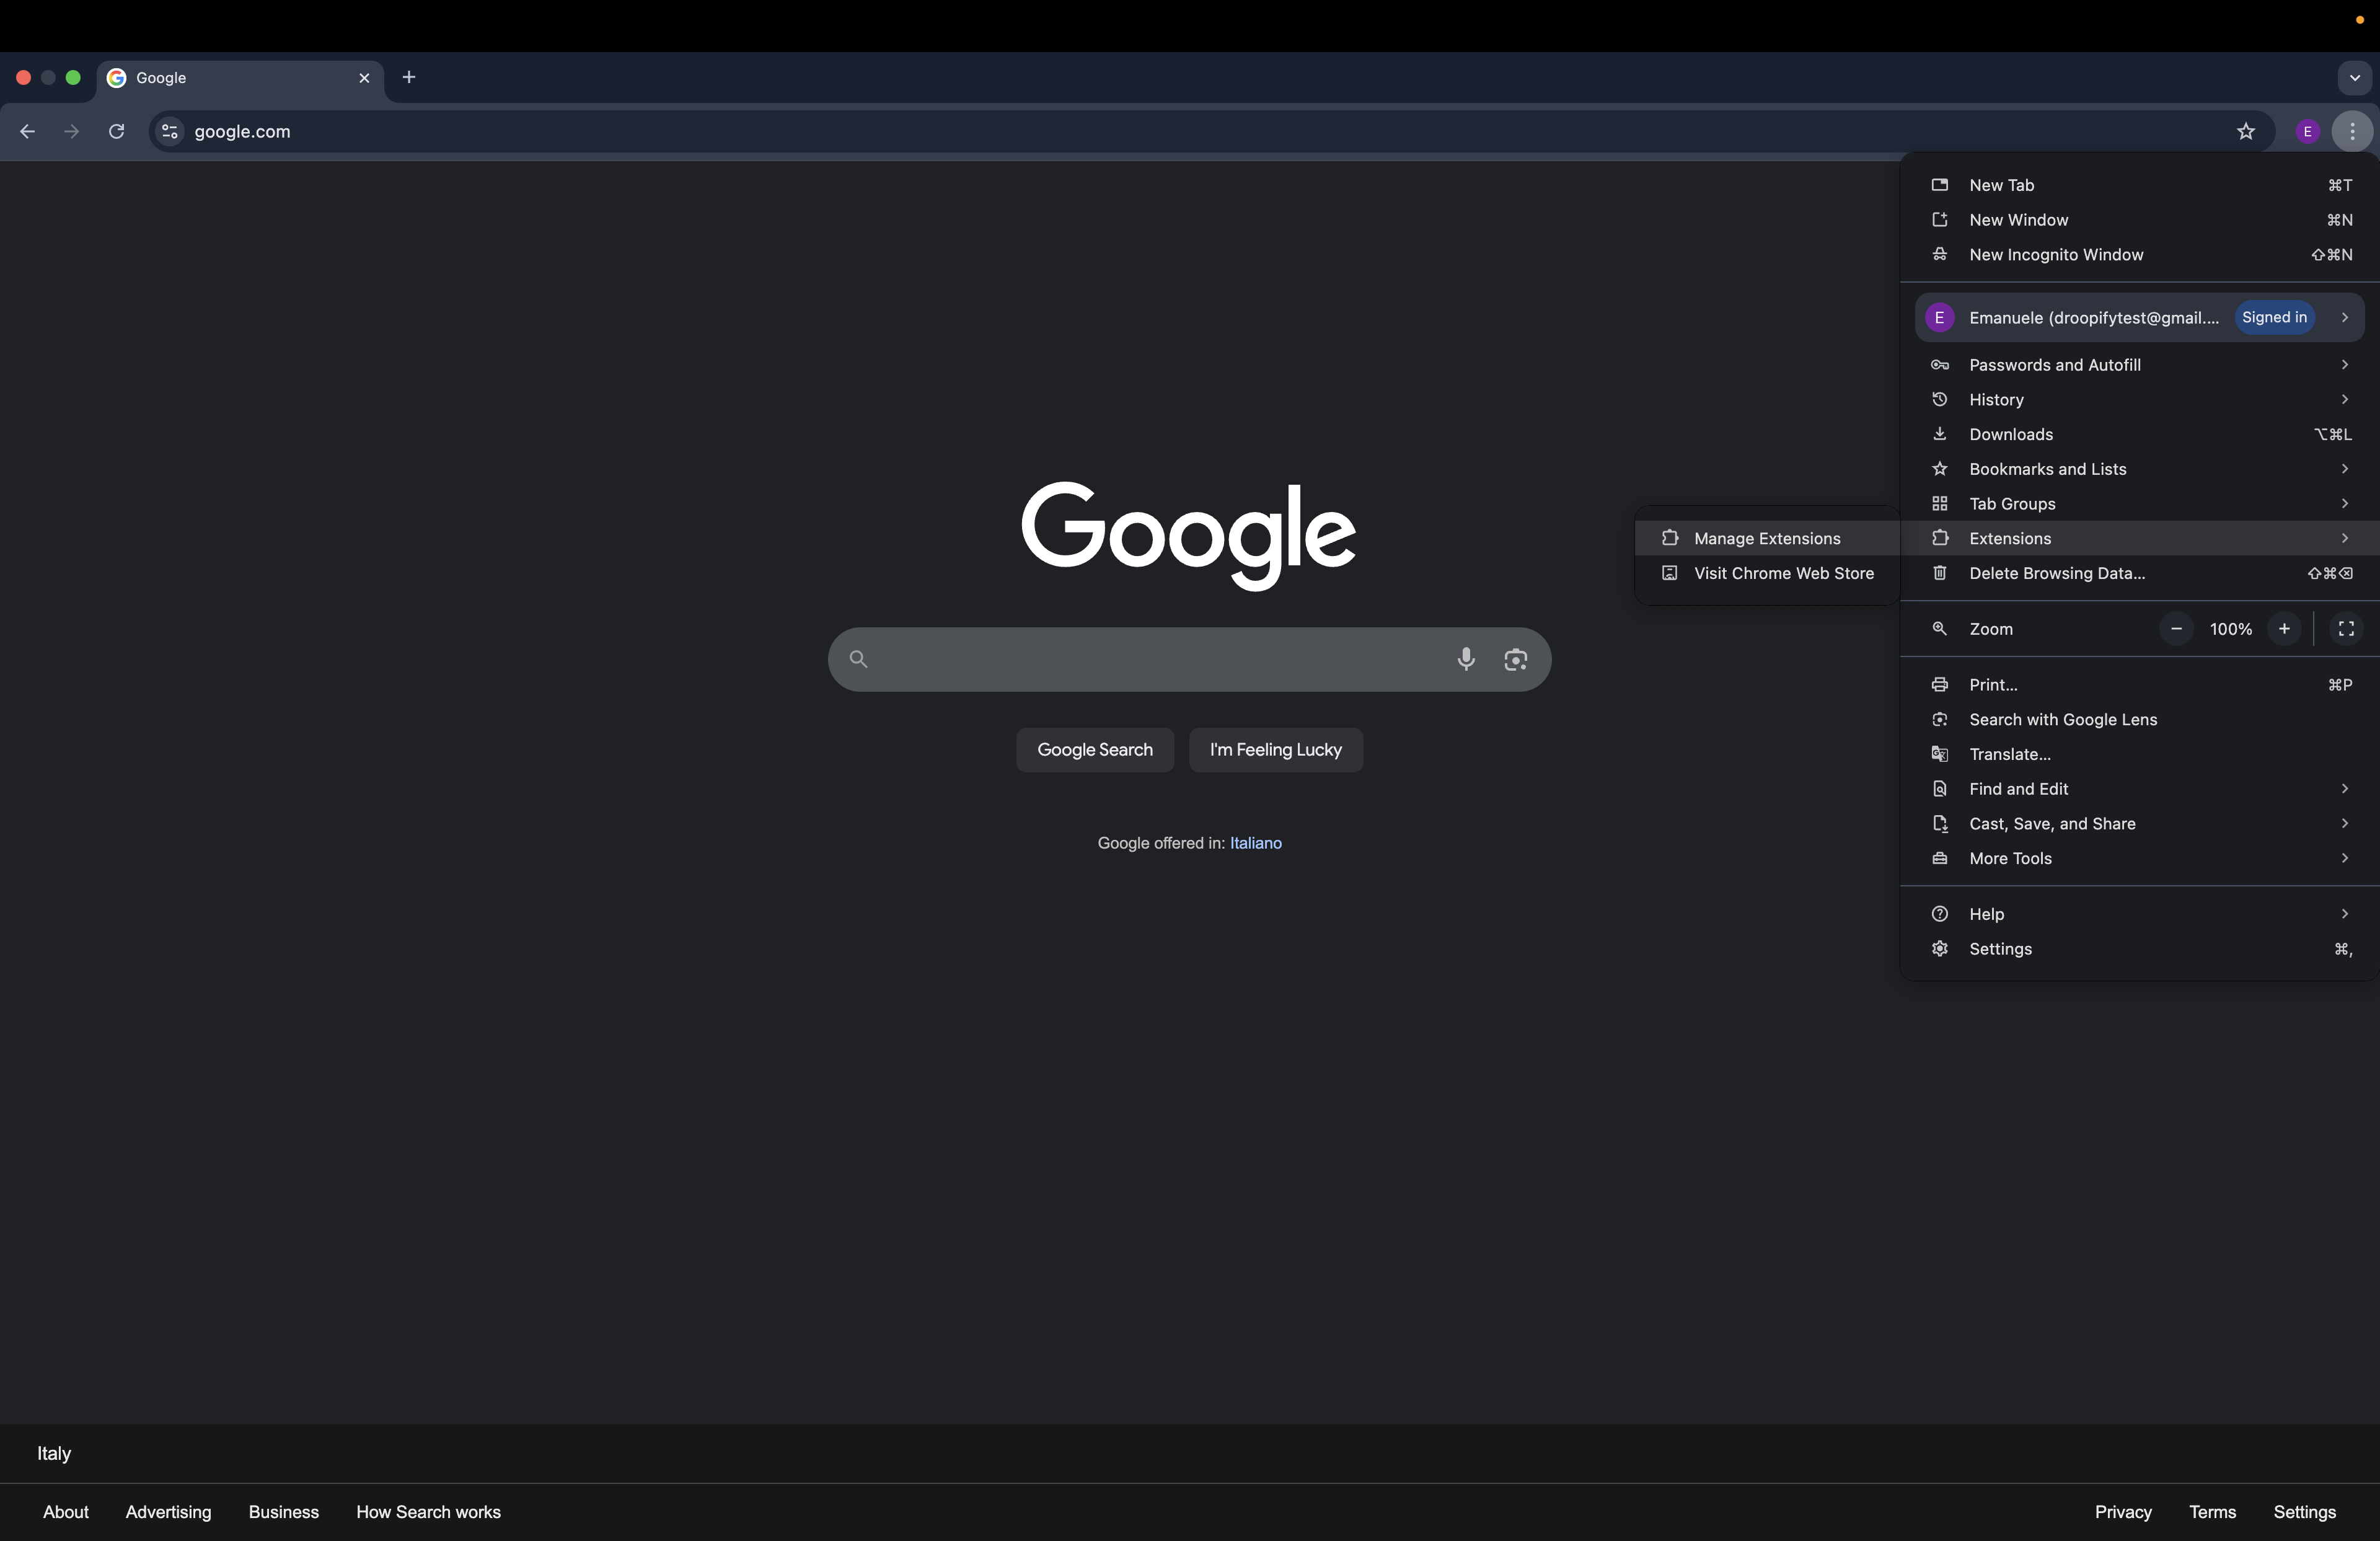
Step 5: Open Chrome’s extension management
Open Chrome and click the three dots in the top right corner, then select:
Extensions -> Manage Extensions.
Alternatively, type and open the address: chrome://extensions/.
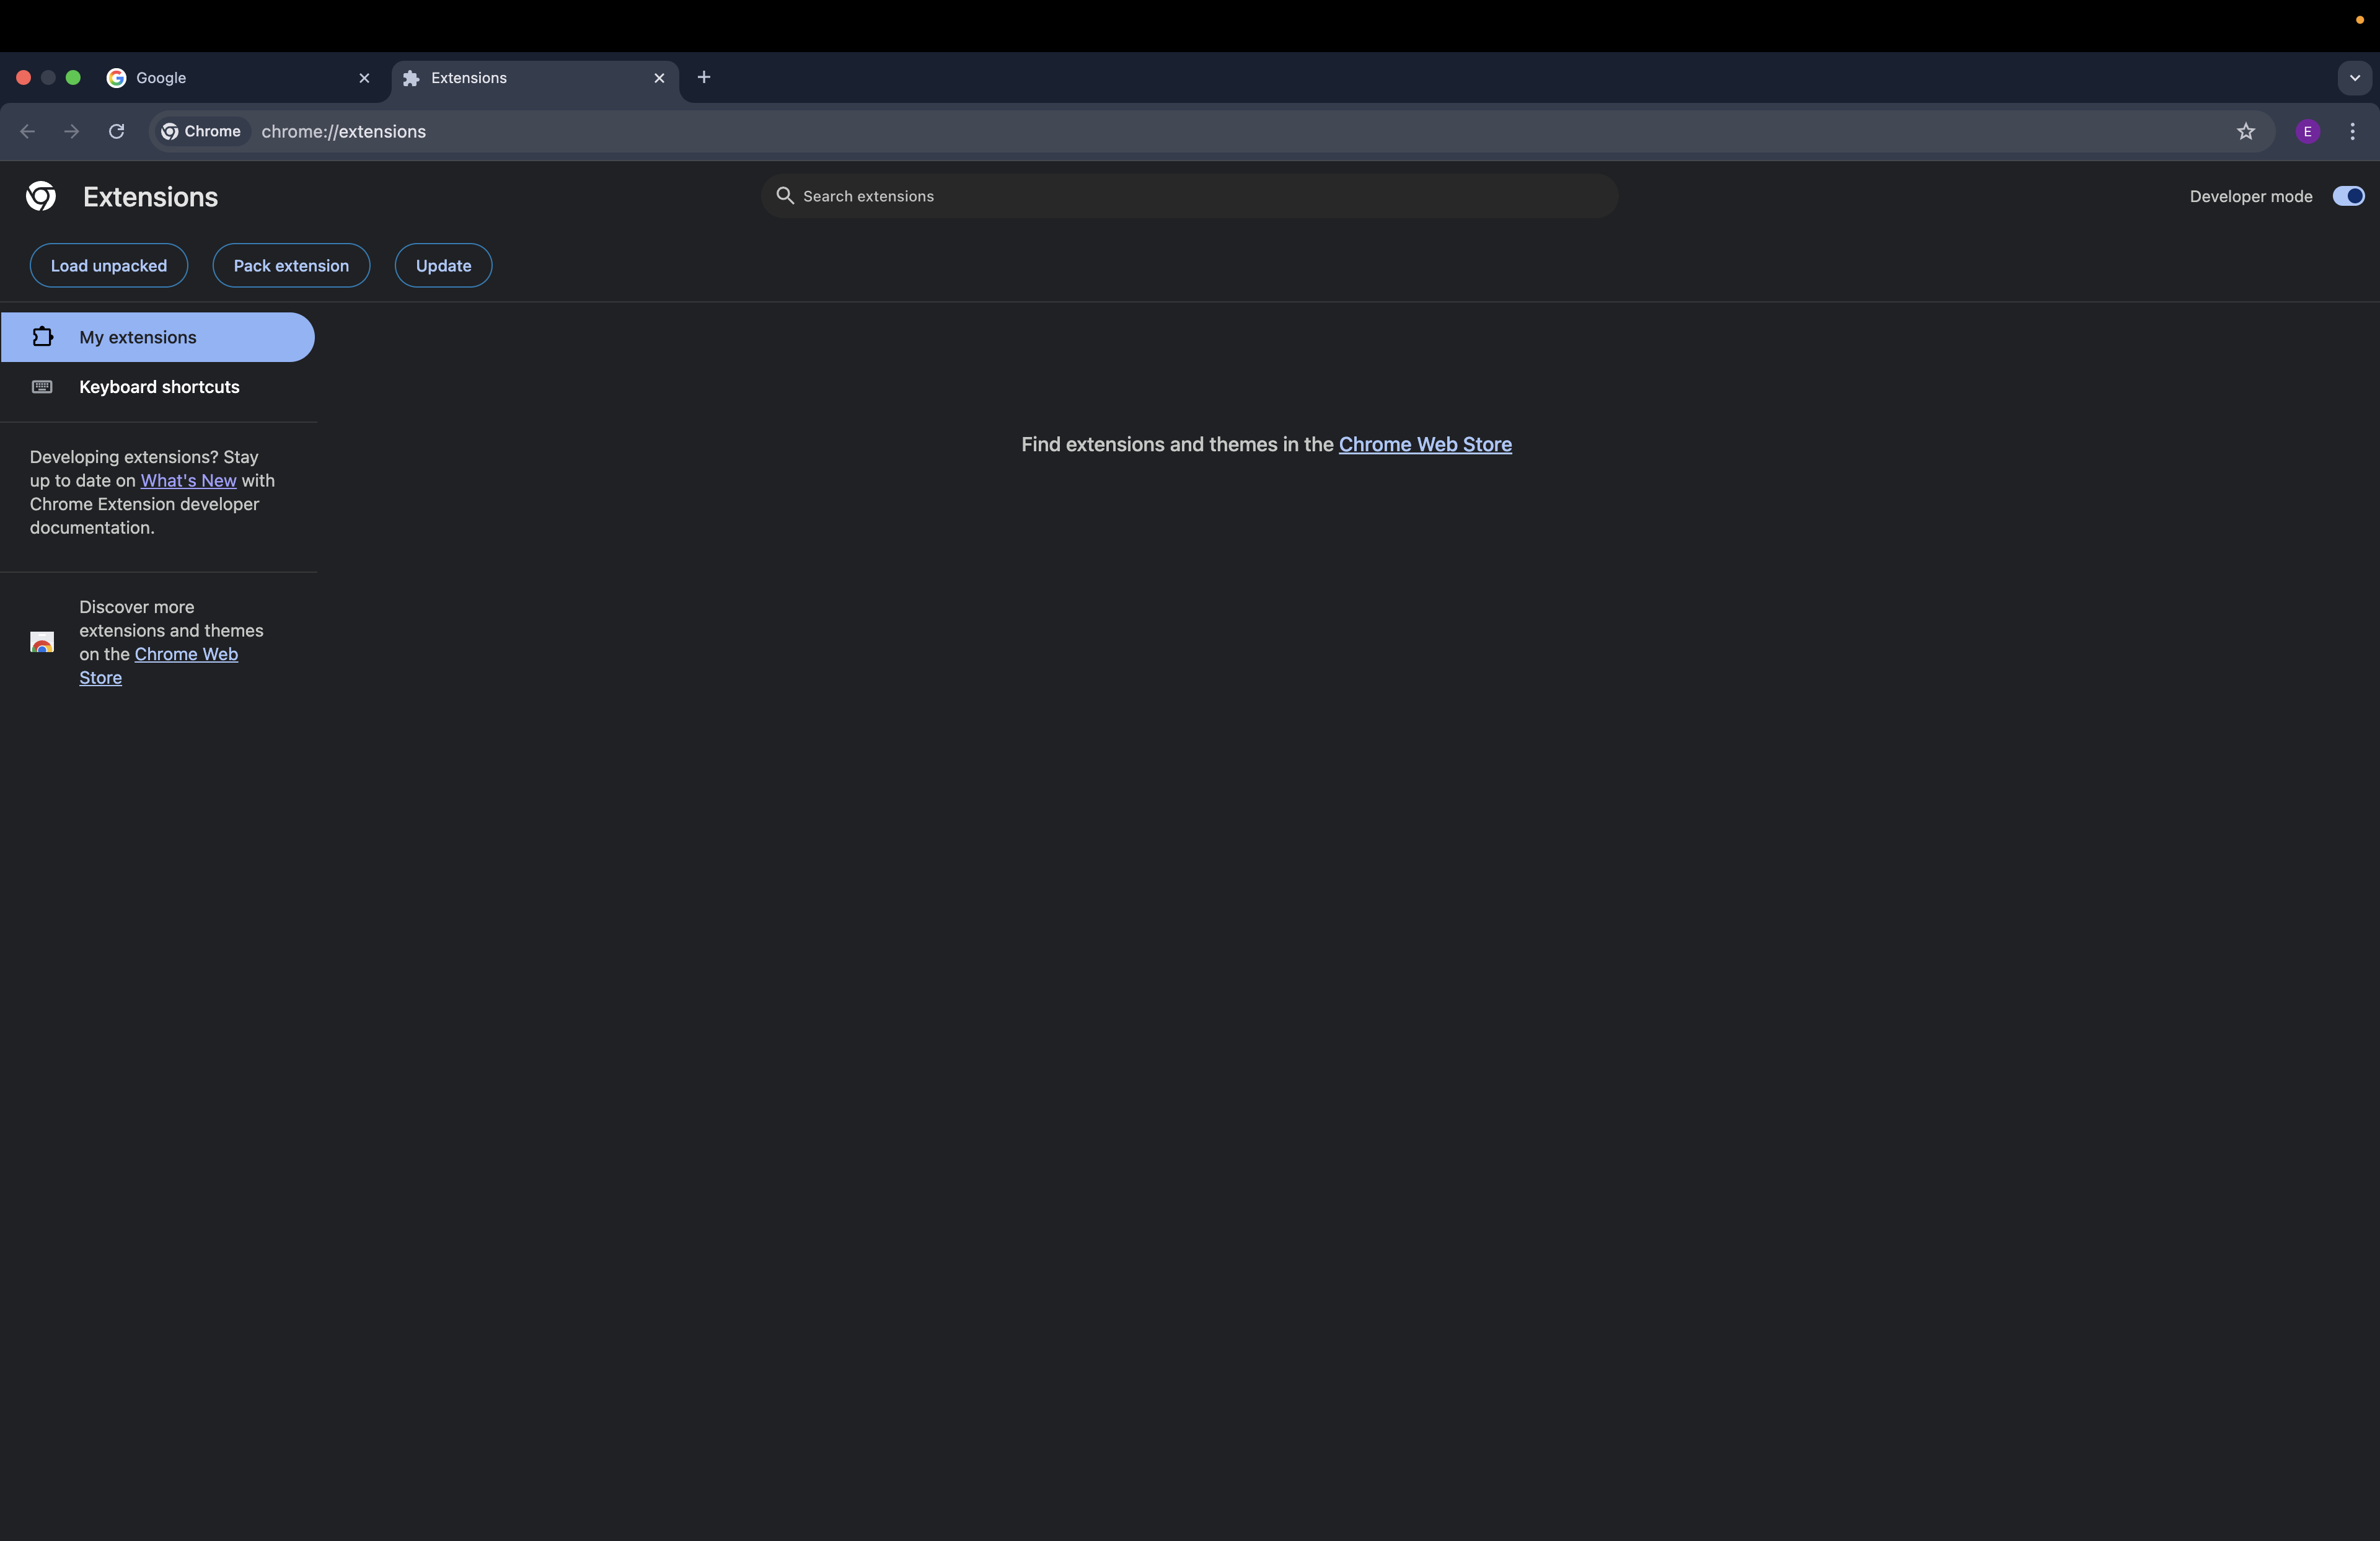
Step 6: Enable developer mode
In the extensions management page:
- Enable the "Developer Mode" option in the top right.
- Click the "Load unpacked" button.
- Select the DroopifyExt folder located on the Desktop.
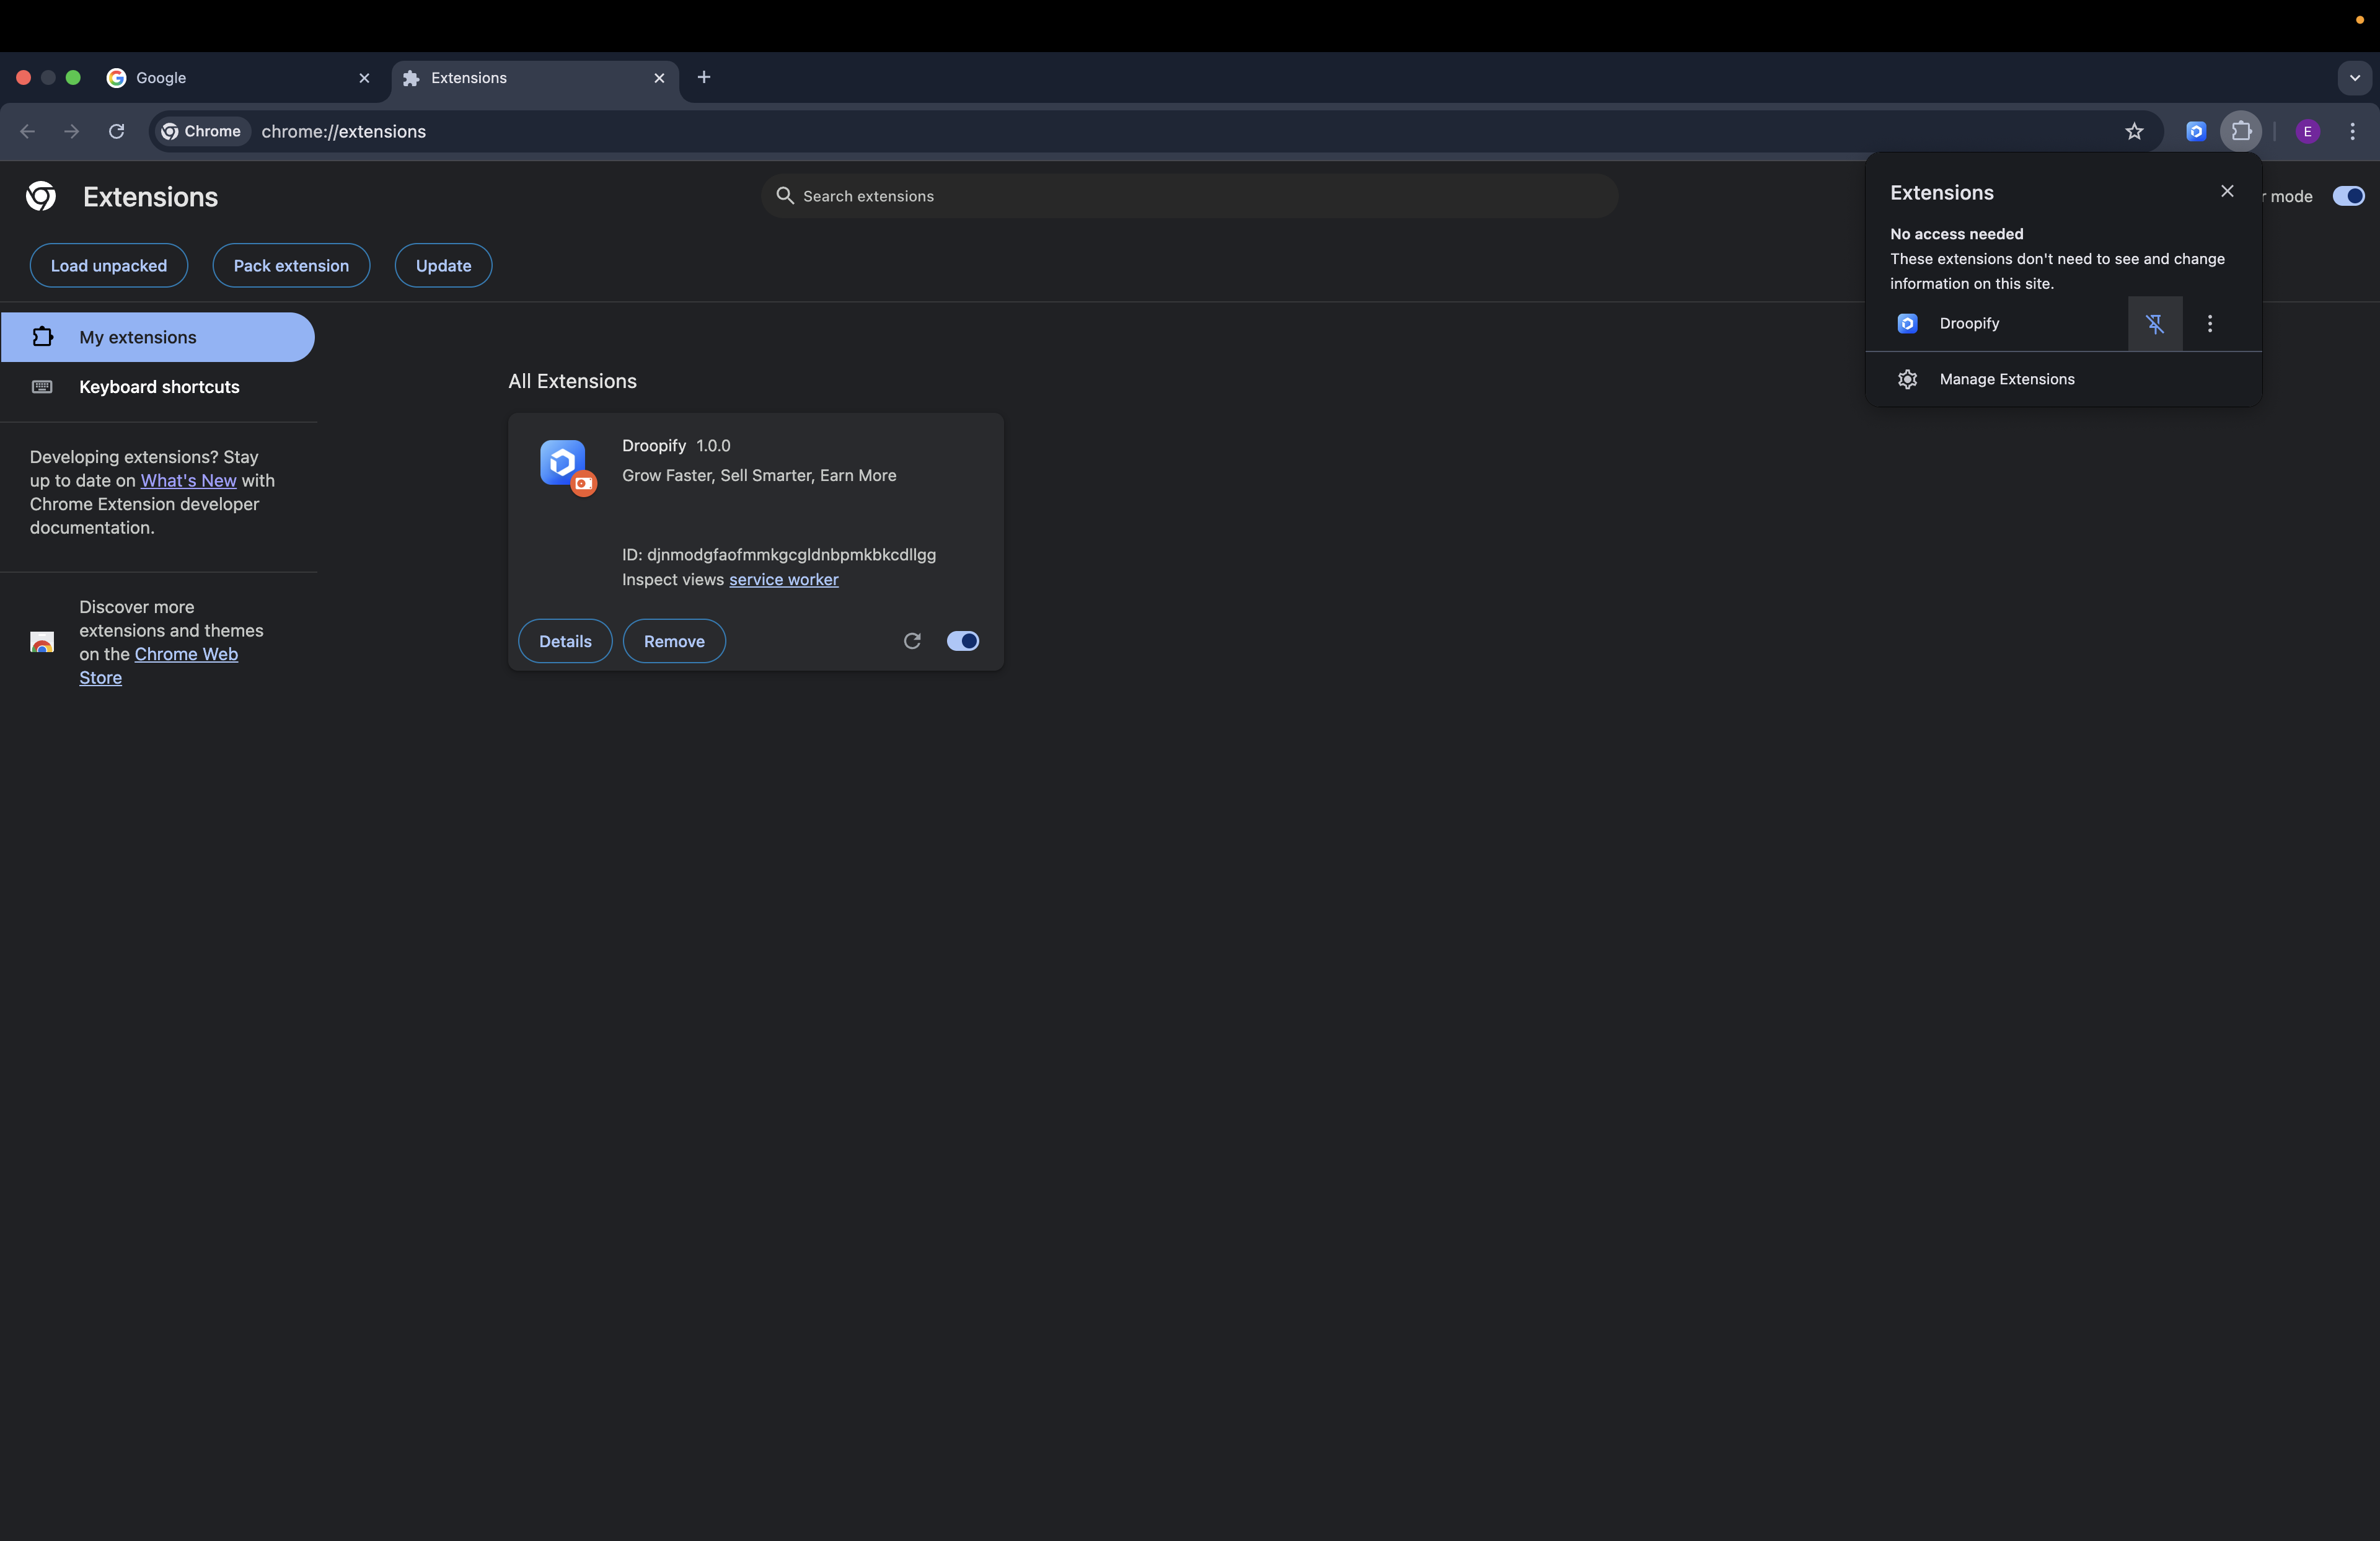
Step 7: Pin the extension to the Chrome bar
Once loaded, the extension will be installed.
For quicker access:
- Click the puzzle icon in the top right.
- Next to the Droopify extension, click the pin icon to always make it visible in the Chrome bar.
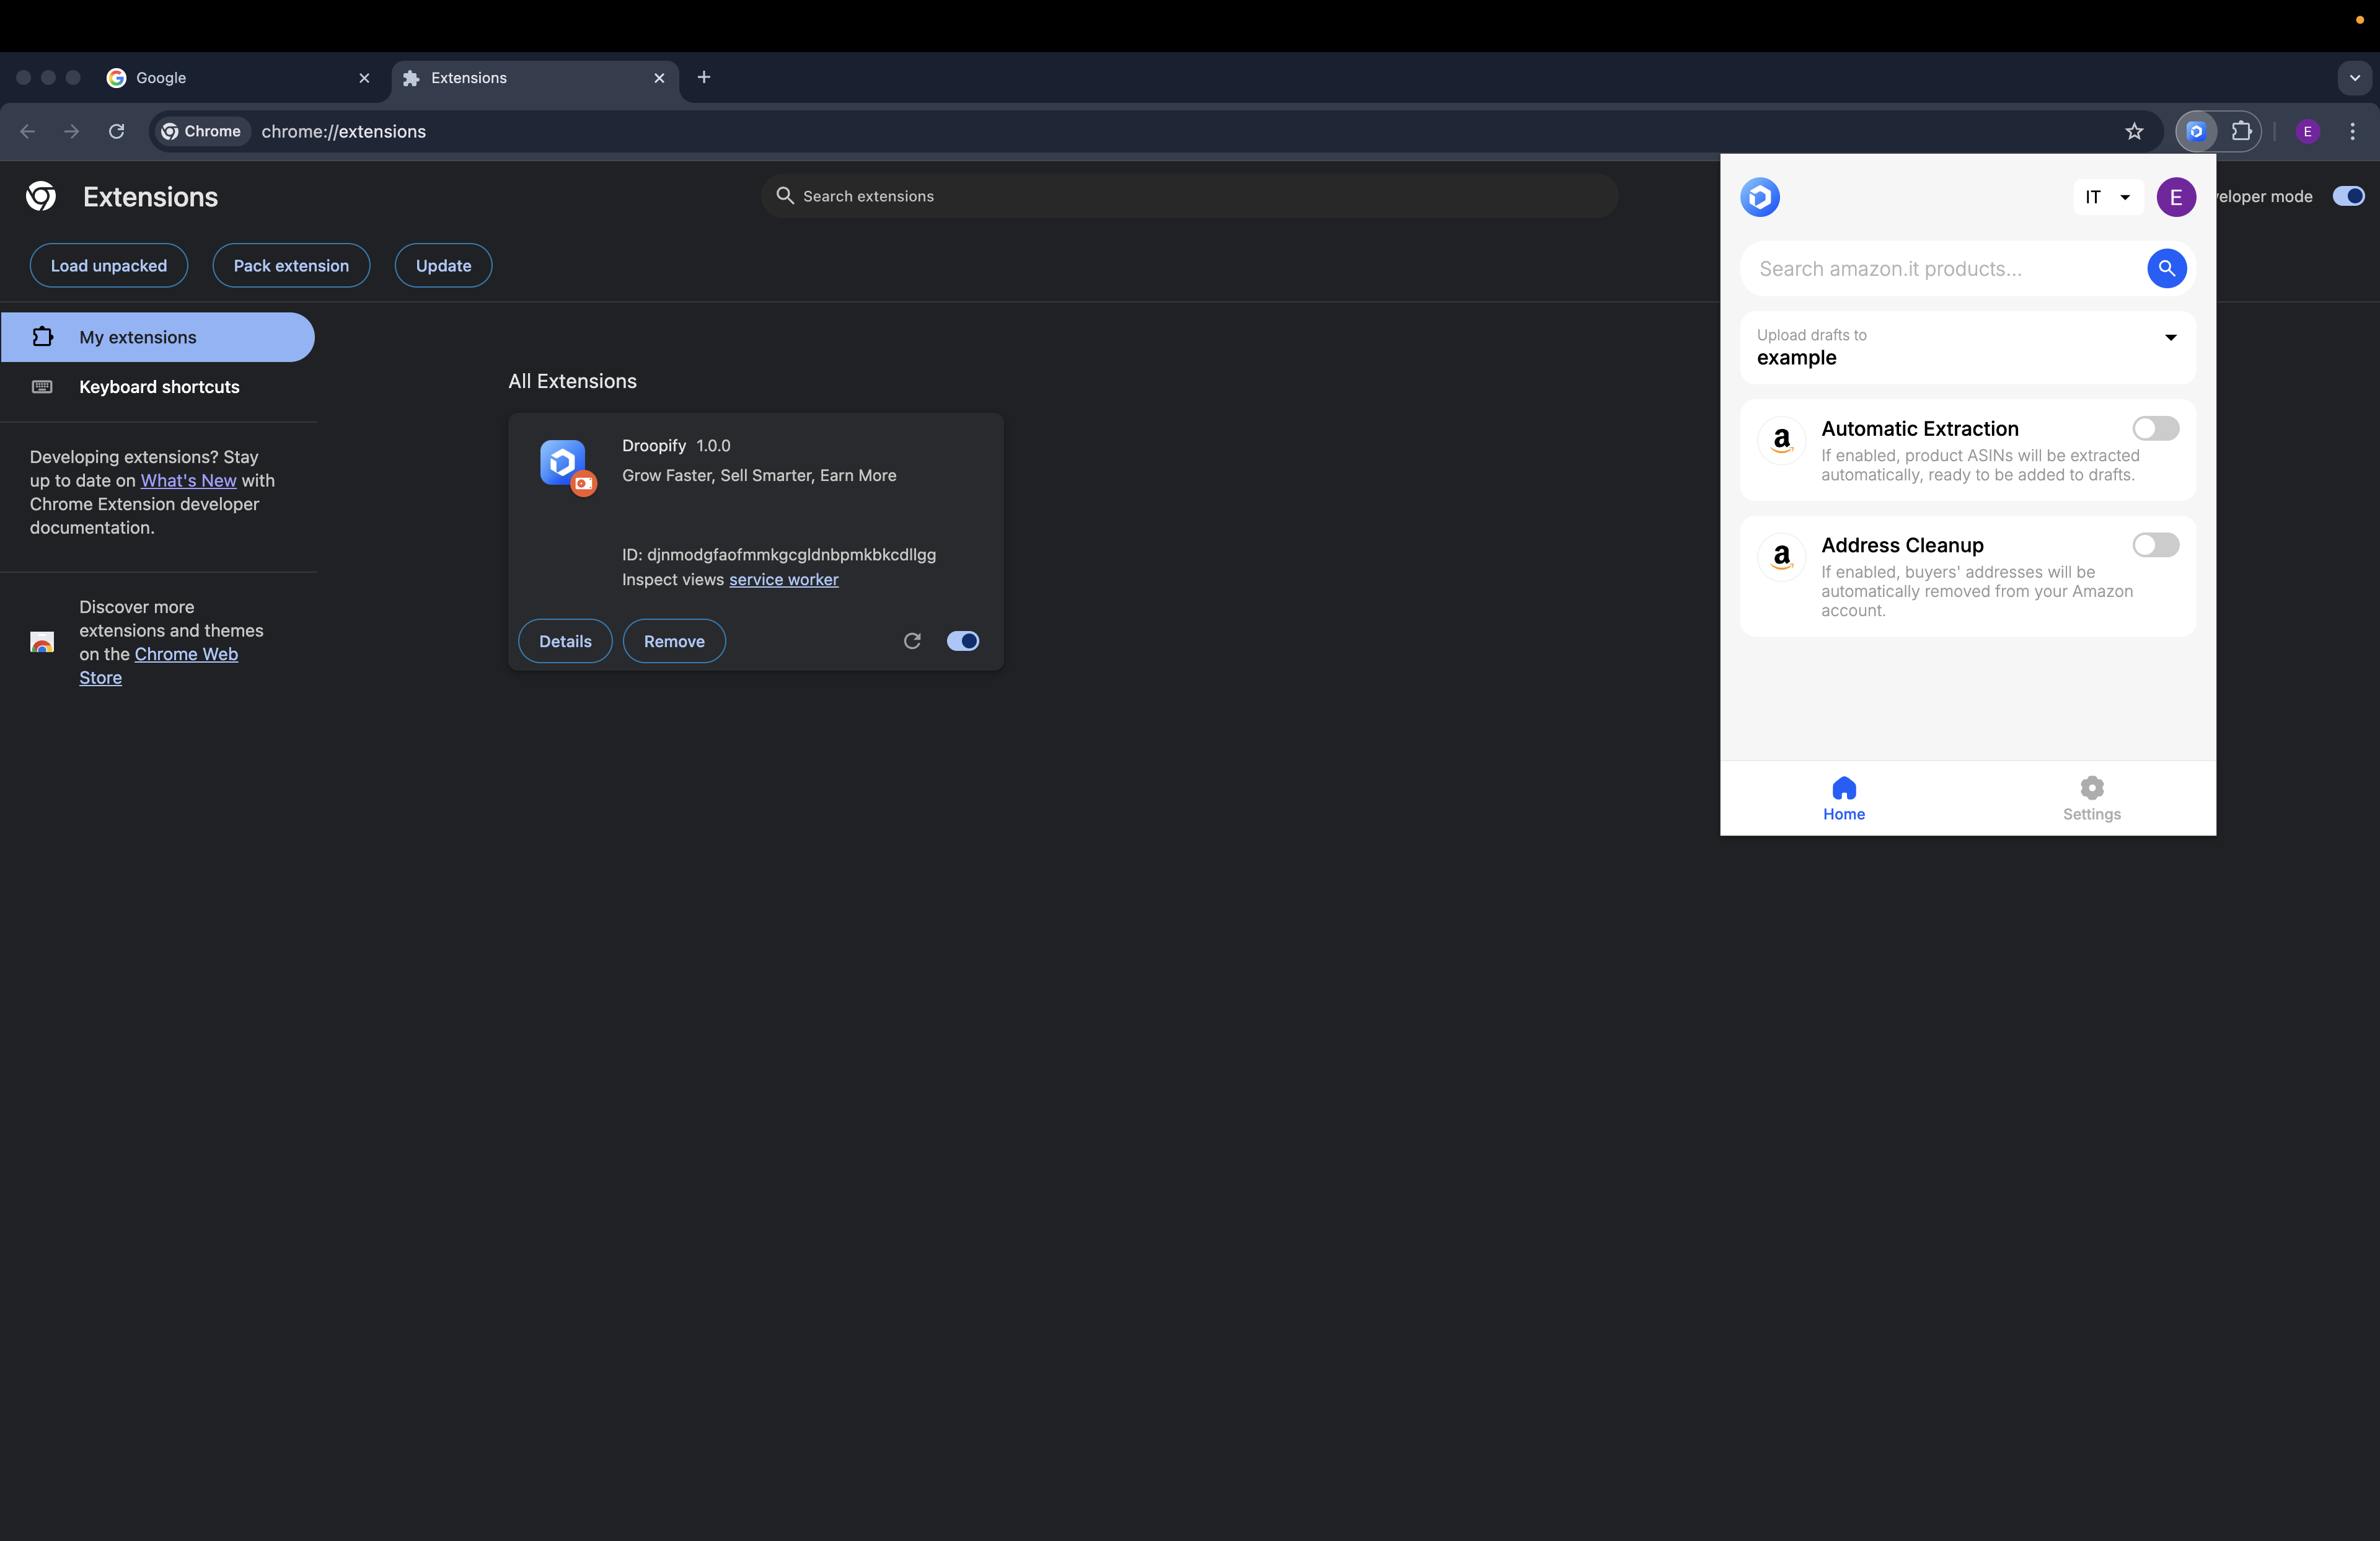
Step 8: Verify the installation
Click the Droopify icon in the top right of the Chrome bar to open the extension.
If it appears correctly, the installation was successful.
Note:
To use the extension, you must be logged into Droopify in the same Chrome user.
Otherwise, when you open the extension you will be redirected to the login page.
Note:
To update the Chrome extension, simply follow the same procedure used for installation.
Conclusion
By carefully following the steps provided, the Droopify Chrome Extension will be installed and ready to use.
Remember that the DroopifyExt folder must always remain on the Desktop to ensure the extension works correctly. Once configured, you will be able to quickly use Droopify directly from your Chrome browser.