Overview
The Droopify dashboard represents the main operations center for managing your dropshipping business. It has been designed to provide a clear and functional interface, allowing you to quickly monitor and manage connected stores, receive important notifications, and communicate with support. In this section, we will look in detail at the structure of the dashboard, its main functions, and the available interaction areas.
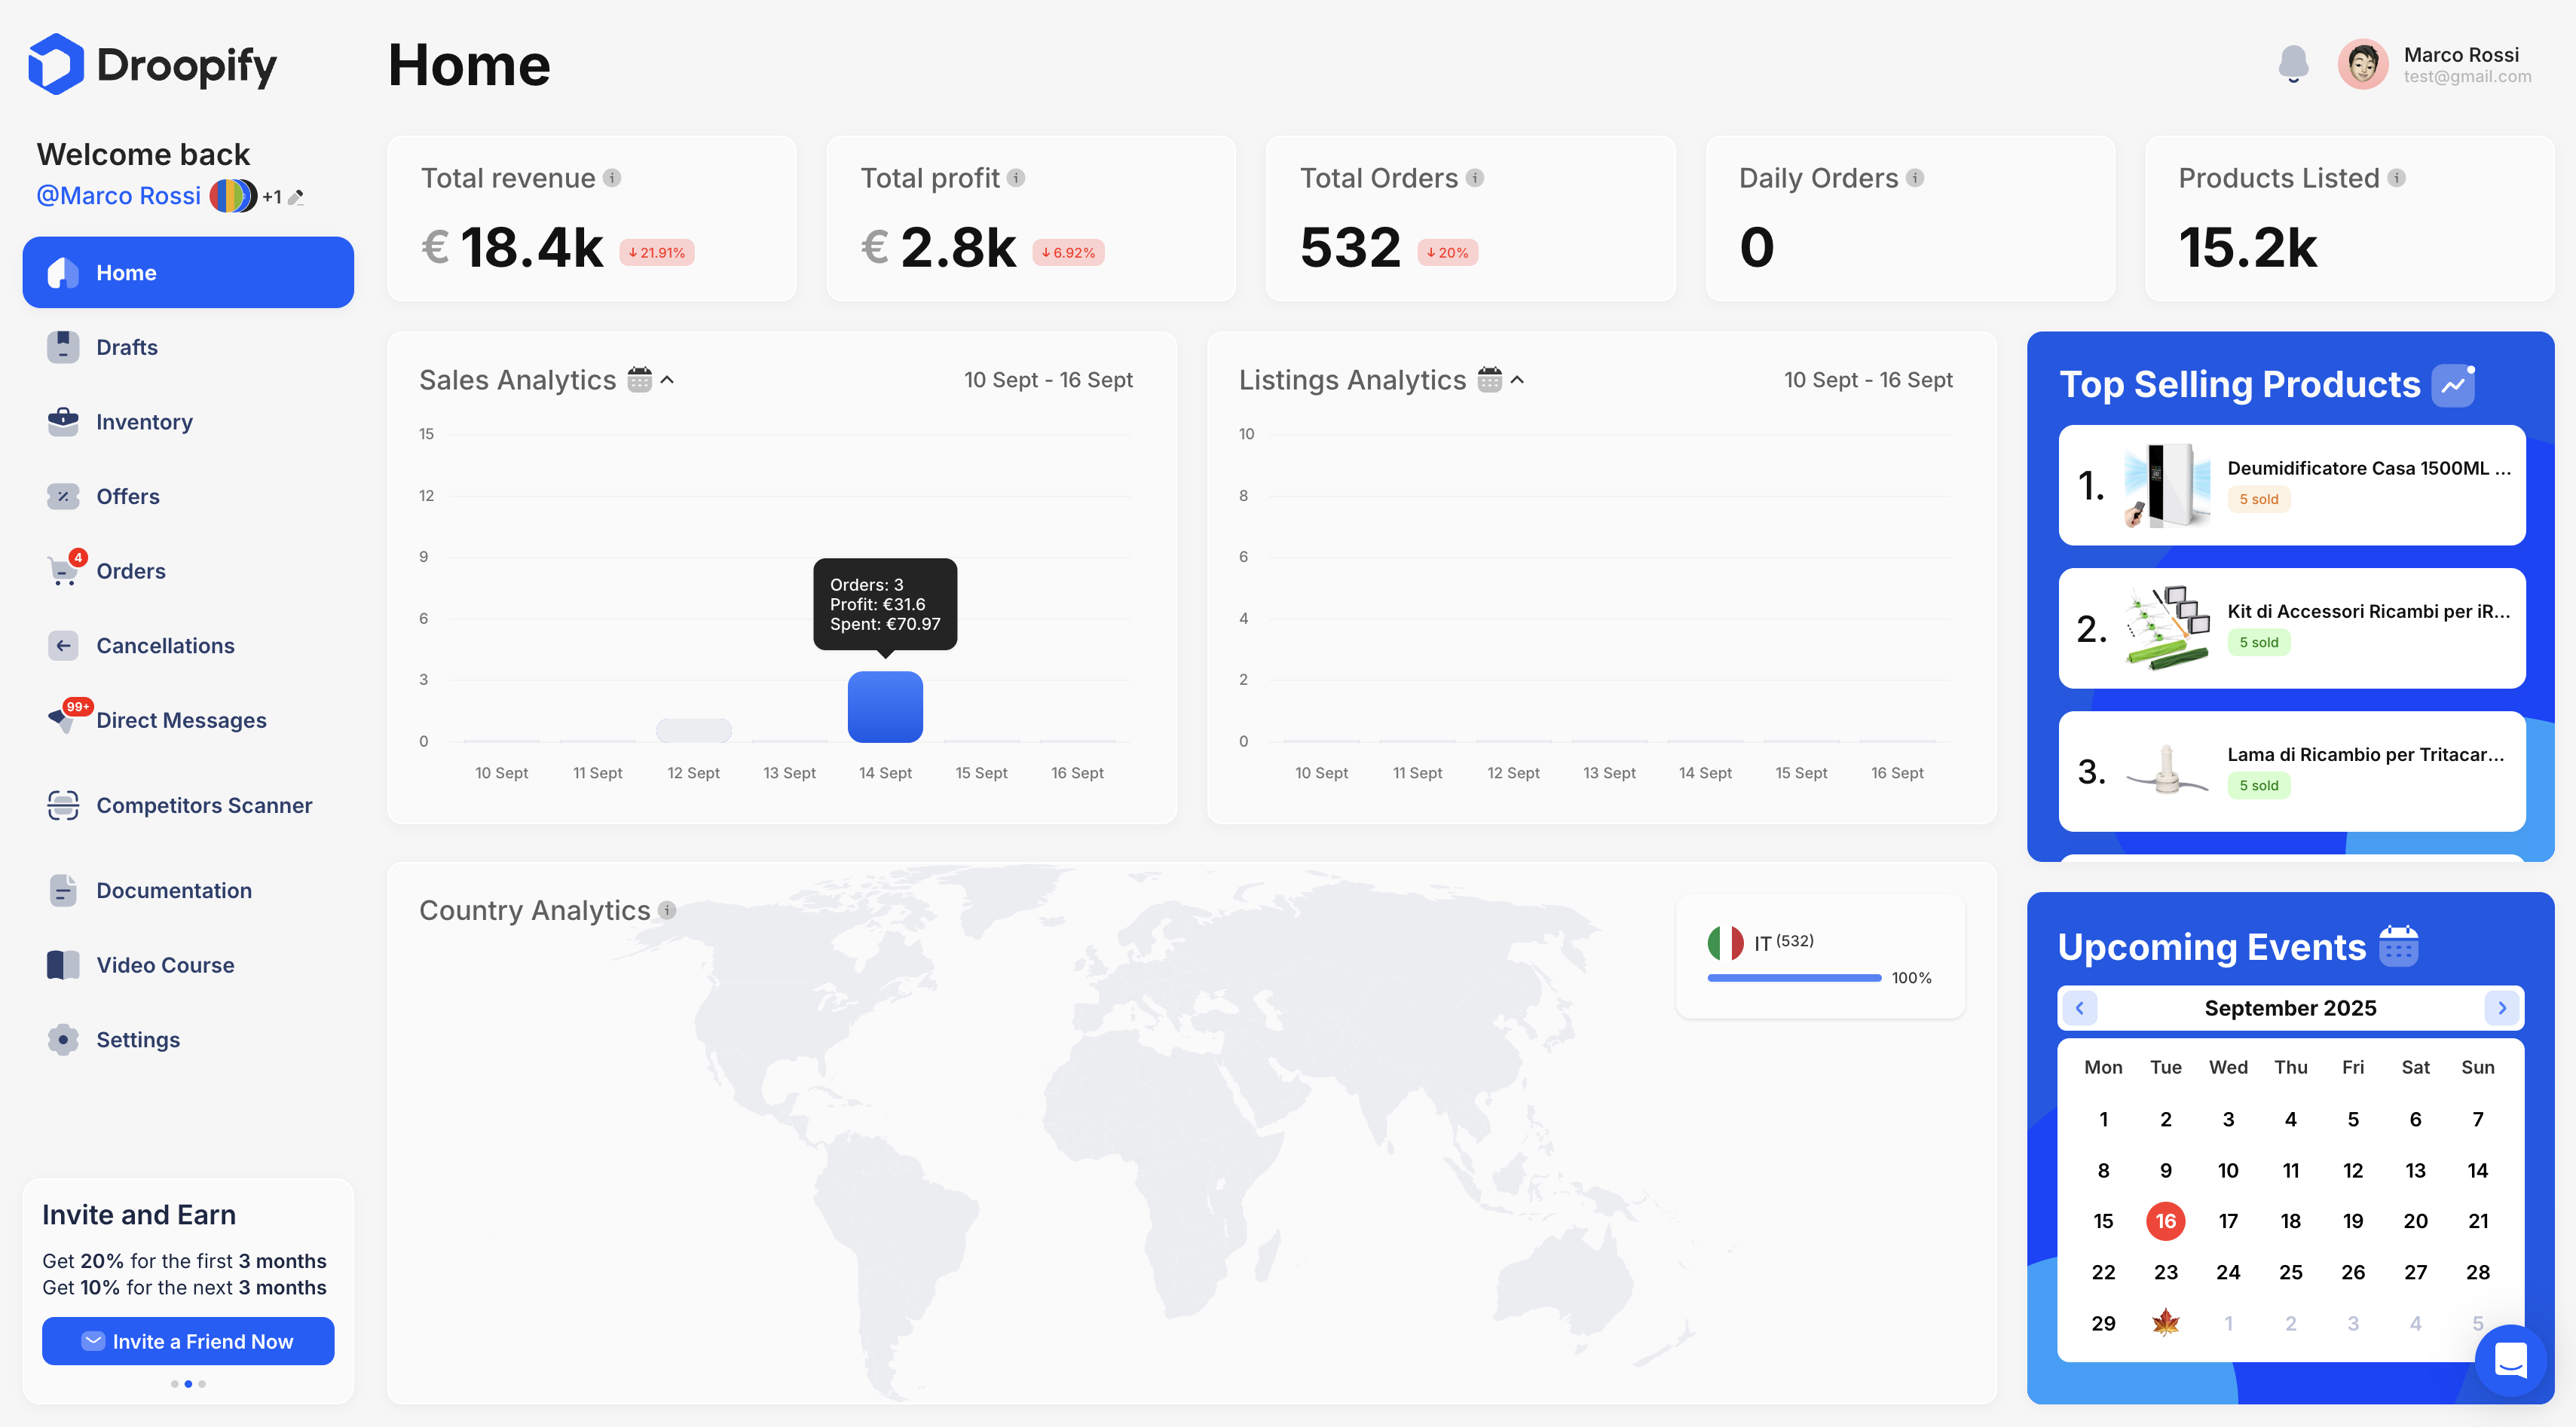
When opening the Droopify dashboard for the first time, the user is welcomed by the Home page.
Sidebar Navigation
On the left, there is the navigation bar, which allows you to move between the different sections of the dashboard.
Structure of the navigation bar:
- Username and connected accounts: at the top, the user’s name is displayed with the icons of the connected eBay stores next to it.
- eBay account management: by pressing the eBay store icons to the left of the name, the Manage eBay Account panel opens.
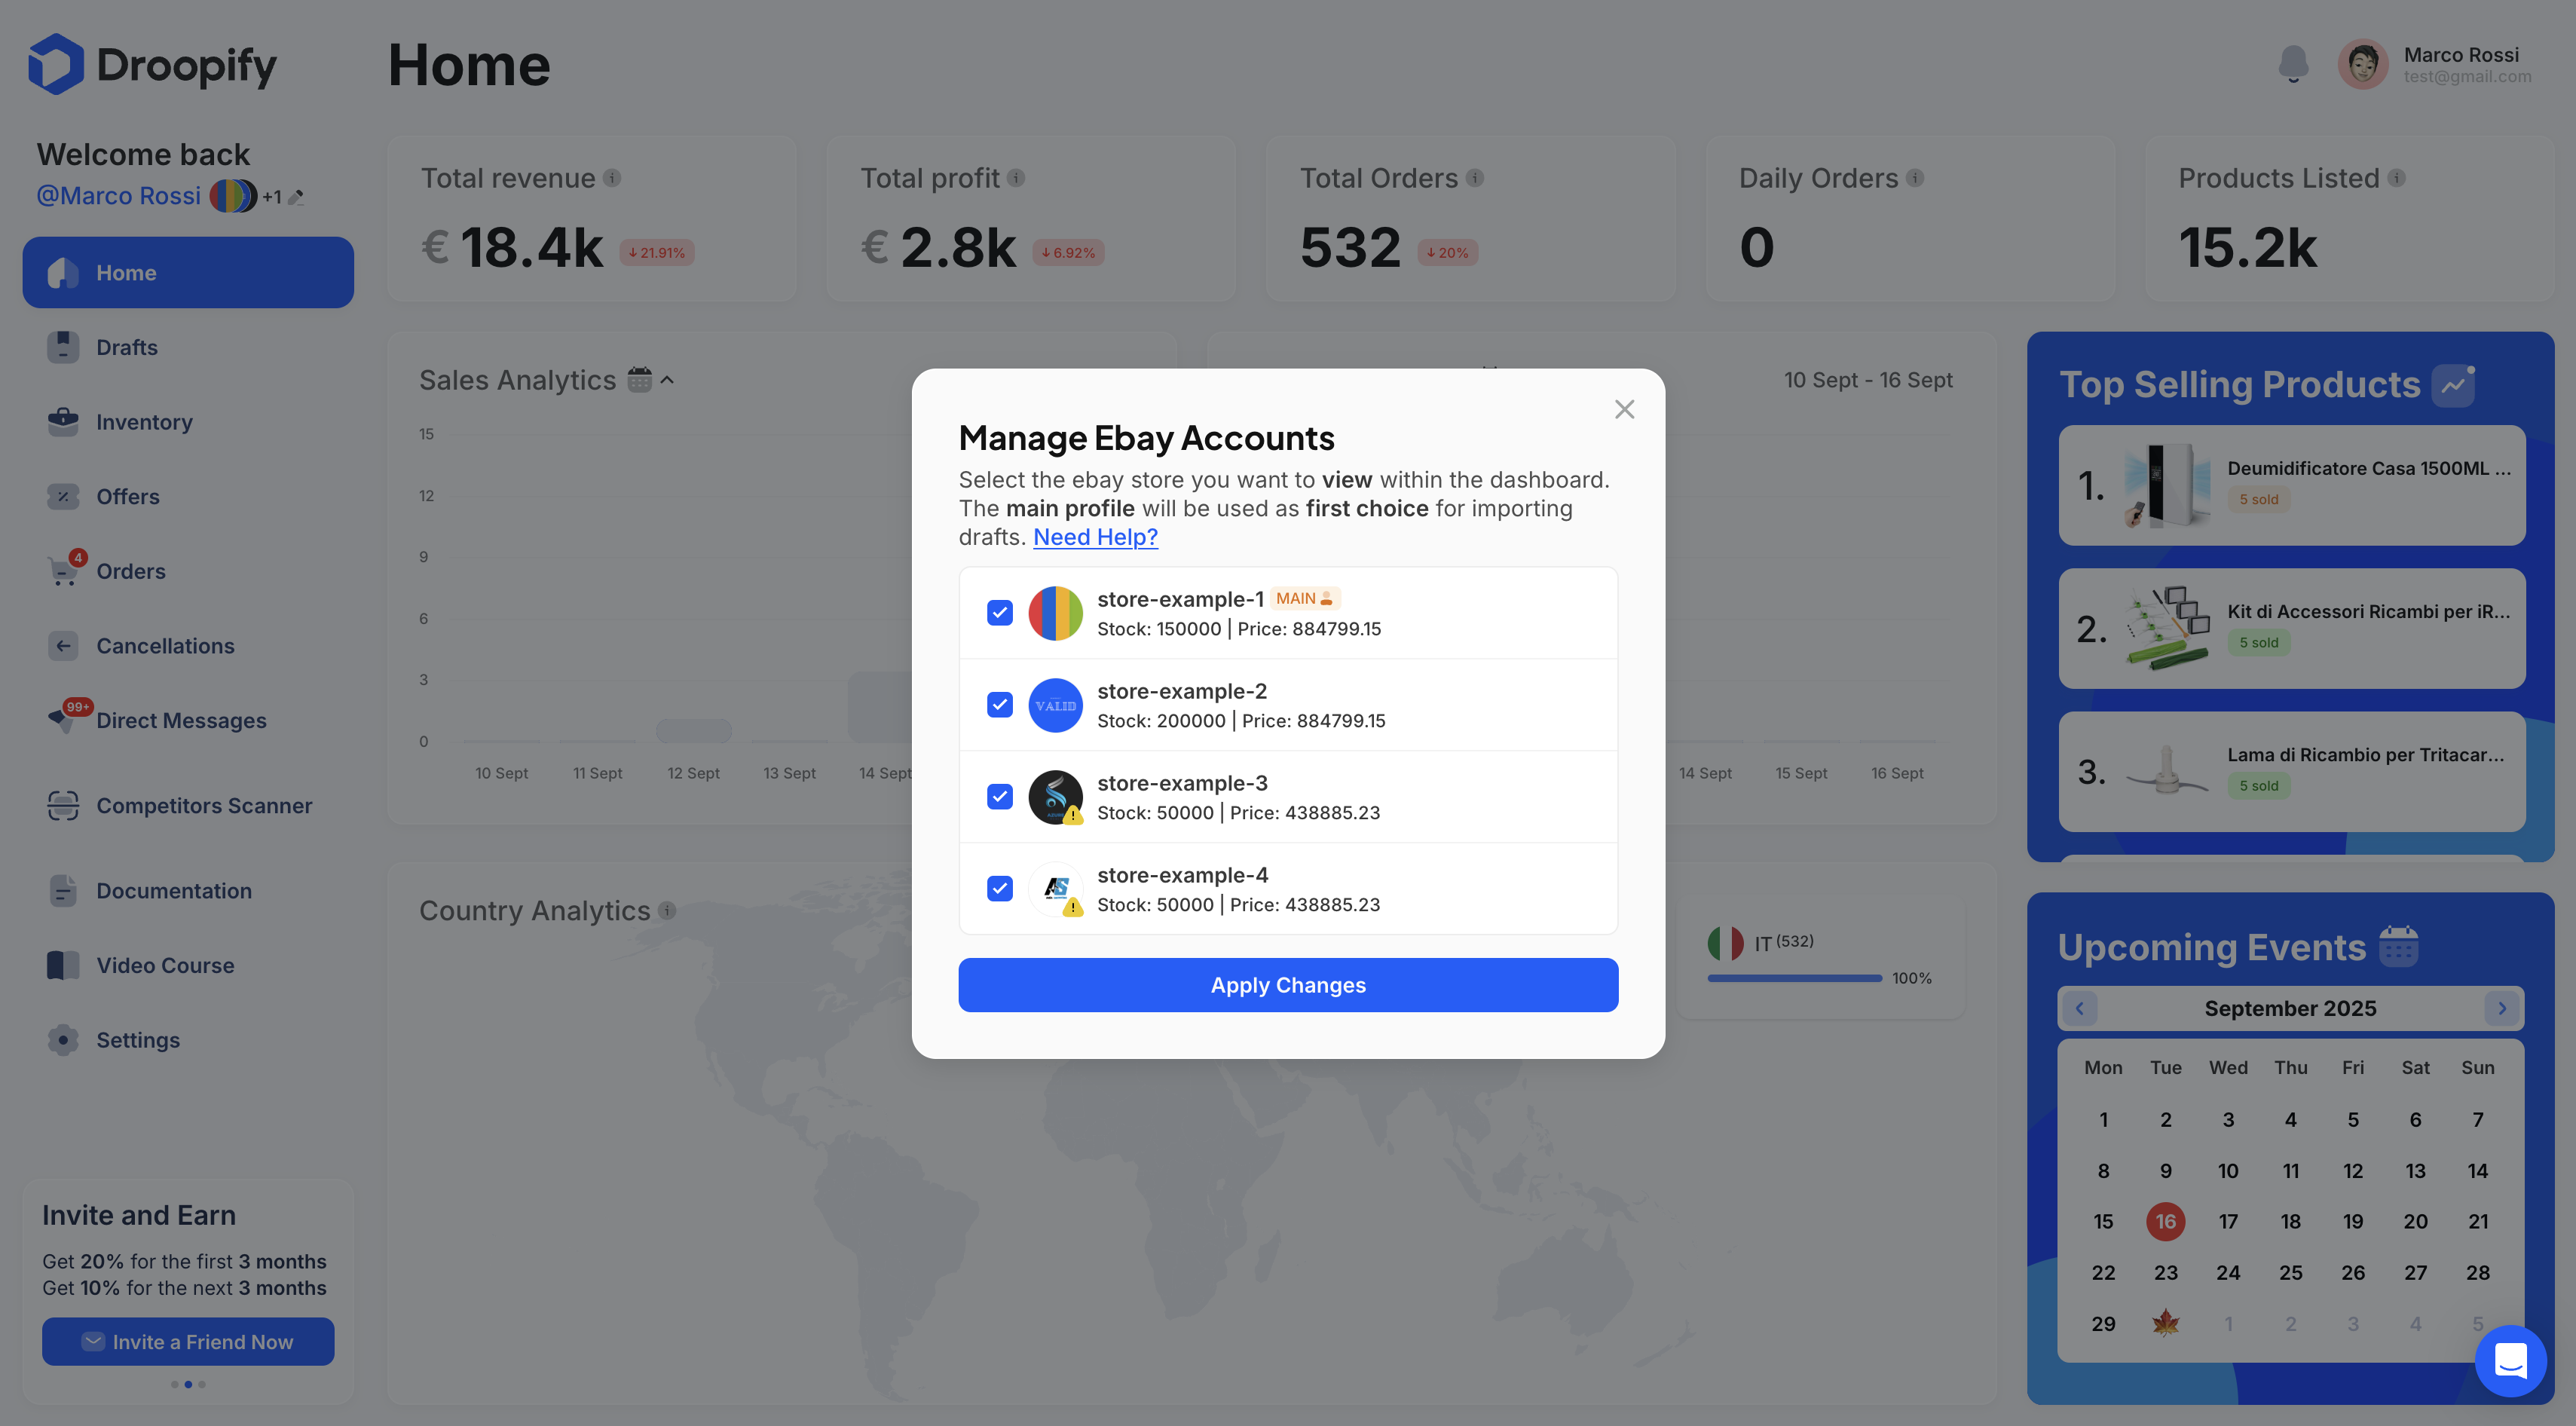
Manage eBay Account Panel
The Manage eBay Account panel is a fundamental panel that allows you to control and customize the behavior of the dashboard in relation to connected stores.
Main features:
- Selection of visible stores: you can choose which eBay stores to display inside the dashboard. For example, if you want to display only one store at a time, just keep the blue checkmark active next to the desired store icon.
- Selection of the main store: you can define the main eBay store on which to import drafts from Amazon. The main store is marked with a yellow tag labeled "Main". To change it, simply select another eBay store from the list.
Important:
After any changes, it is essential to press the blue "Apply Changes" button to save the changes made.
Important:
If you are in the dashboard and it seems that you cannot see drafts, listings, or orders, make sure all eBay stores are visible by opening the "Manage eBay Account" panel.
Top Bar
At the top of the dashboard, there is a bar that performs informative and interactive functions:
- Left: shows the name of the page you are currently on.
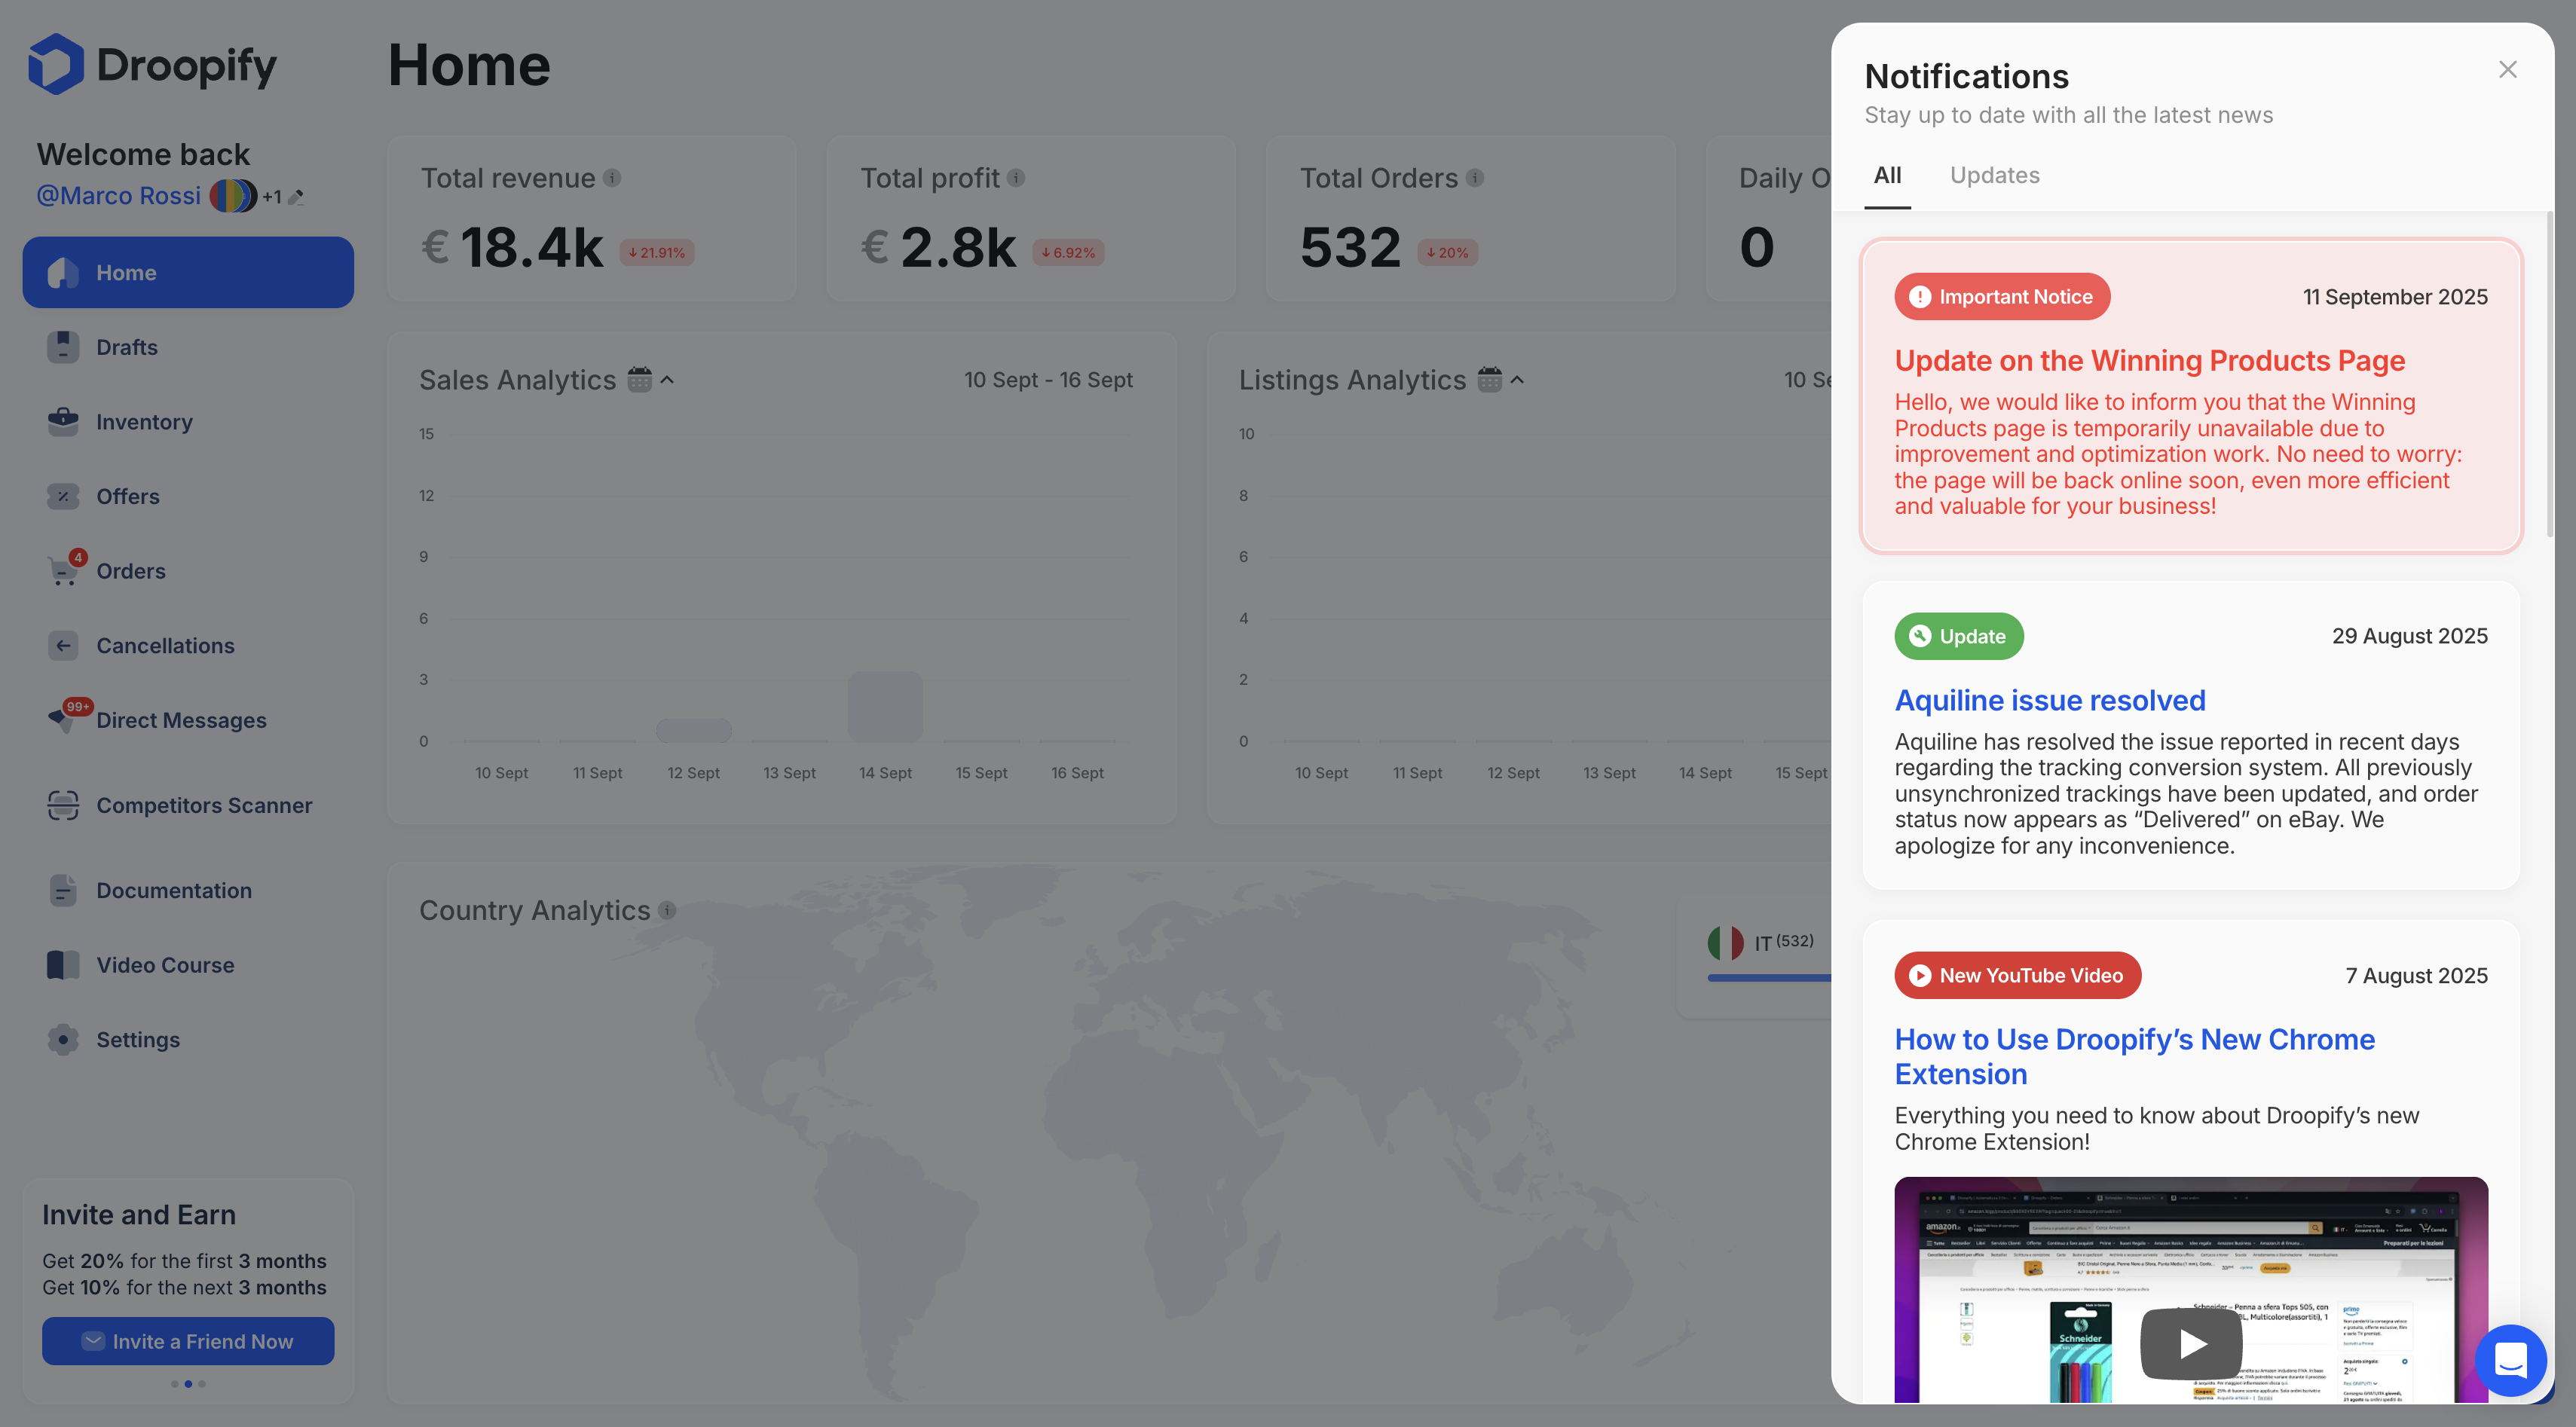
- Right: includes a bell icon which, when clicked, opens the Droopify notifications panel. In this section you will find:
- Official announcements
- System updates
- Important alerts
- New blog articles
- New YouTube videos
Central Area
The central area of the dashboard displays the content of the page you are on. This is where the user interacts with the specific features related to the selected page.
Live Chat
At the bottom right, there is the live chat, through which you can get in direct contact with a Droopify assistant to receive real-time support and assistance.
Conclusion
The Droopify dashboard has been designed to provide a simple, intuitive, and complete experience, centralizing in a single interface all the functions necessary to manage connected eBay stores. With the ability to customize the stores displayed, select the main store for draft imports, receive real-time notifications, and communicate directly with support, Droopify allows users to maintain total control over their dropshipping operations.